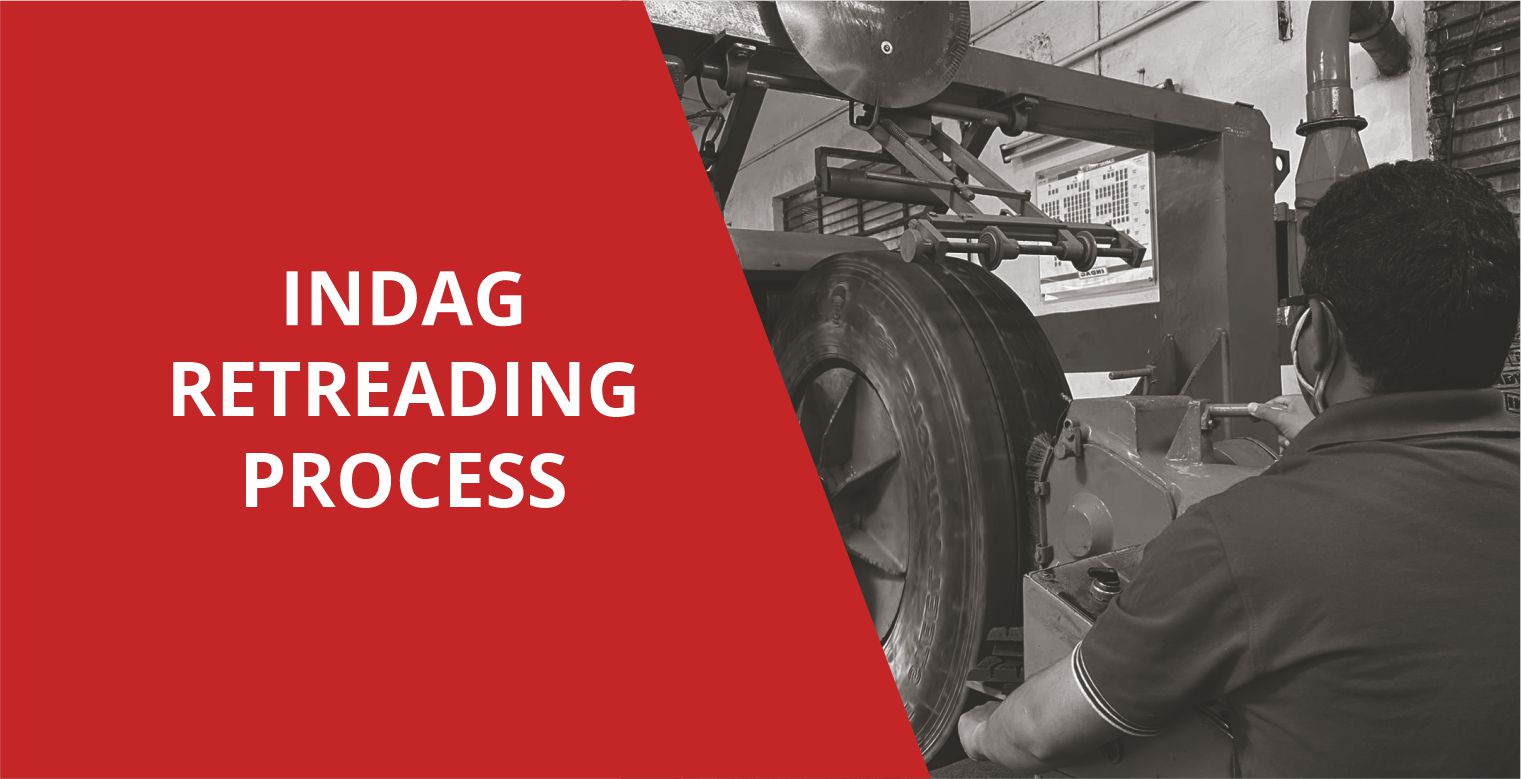
Indag 10-Step Retreading Process – Building India's most trusted retread
Retreading is a green and sustainable alternative to new tyres; it is a process of breathing new life into your old, worn-out tyres by putting a new tread rubber on the top of an old worn-out casing. Scientifically an old tyre, once retreaded, becomes as good as a new tyre. Still, the retreading is often marred with certain doubts questioning its capability of performing as good as new tyres. These doubts are no more than mere myths which exist because of substandard quality retreaders in the market.
We can understand it with an example- If you buy the best quality cloth and get it stitched by a clumsy tailor, you will end up with a worthless suit. Similarly, if you retread your tyre with subquality retreading materials or by an untrained retreader you will end up with a non-performing retreaded tyre. In such cases, most often, the blame for the failure is put on retreading.
Retreading is a highly technical process and not some roadside job that can be accomplished with unskilled labour and substandard machinery. It is imperative that a fully skilled team works in a well-equipped retreading workshop, and only the highest quality branded retreading materials are used to ensure the quality of every tyre retreaded. Indag has always been at the core of educating and training its channel partners on the importance of using the right retreading principles. To ensure that only the right retreading practices are followed at every Indag workshop, we have introduced Indag 10-step retreading process- Building India's most trusted retread.
We are pleased to share this wealth of knowledge with all who are tyring to serve fleet owners with the highest quality retreading solutions. Let us understand each step of Indag's 10 step retreading process and why it is of paramount importance to follow every step rigorously-
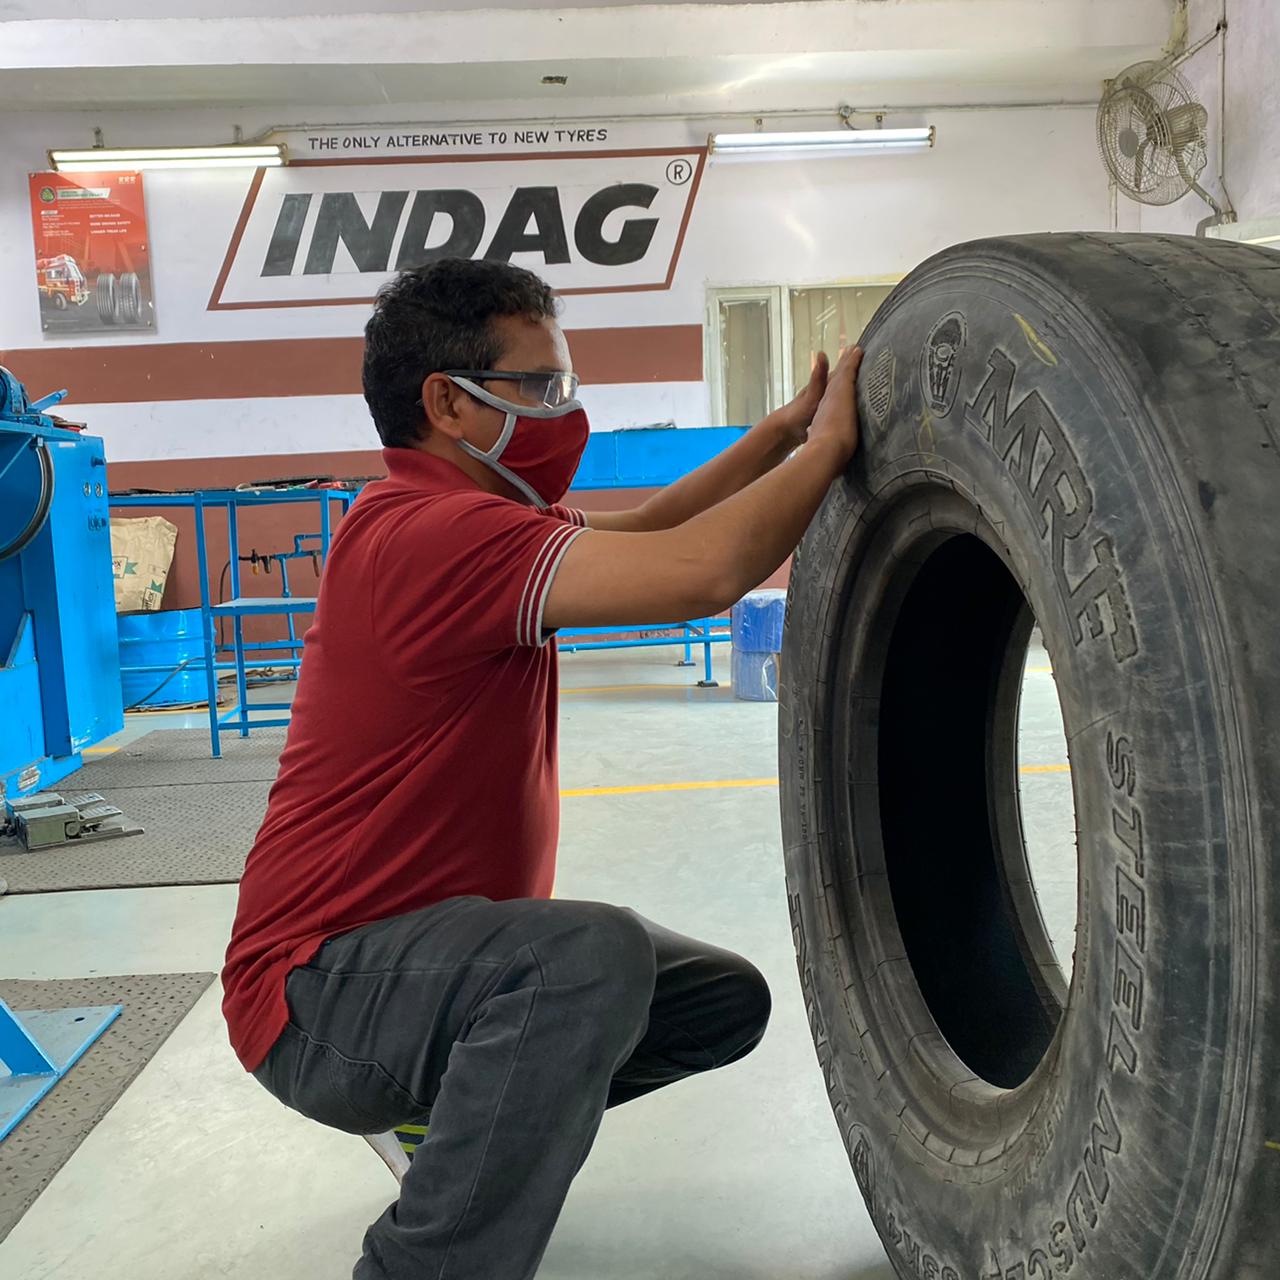
1. Inspection
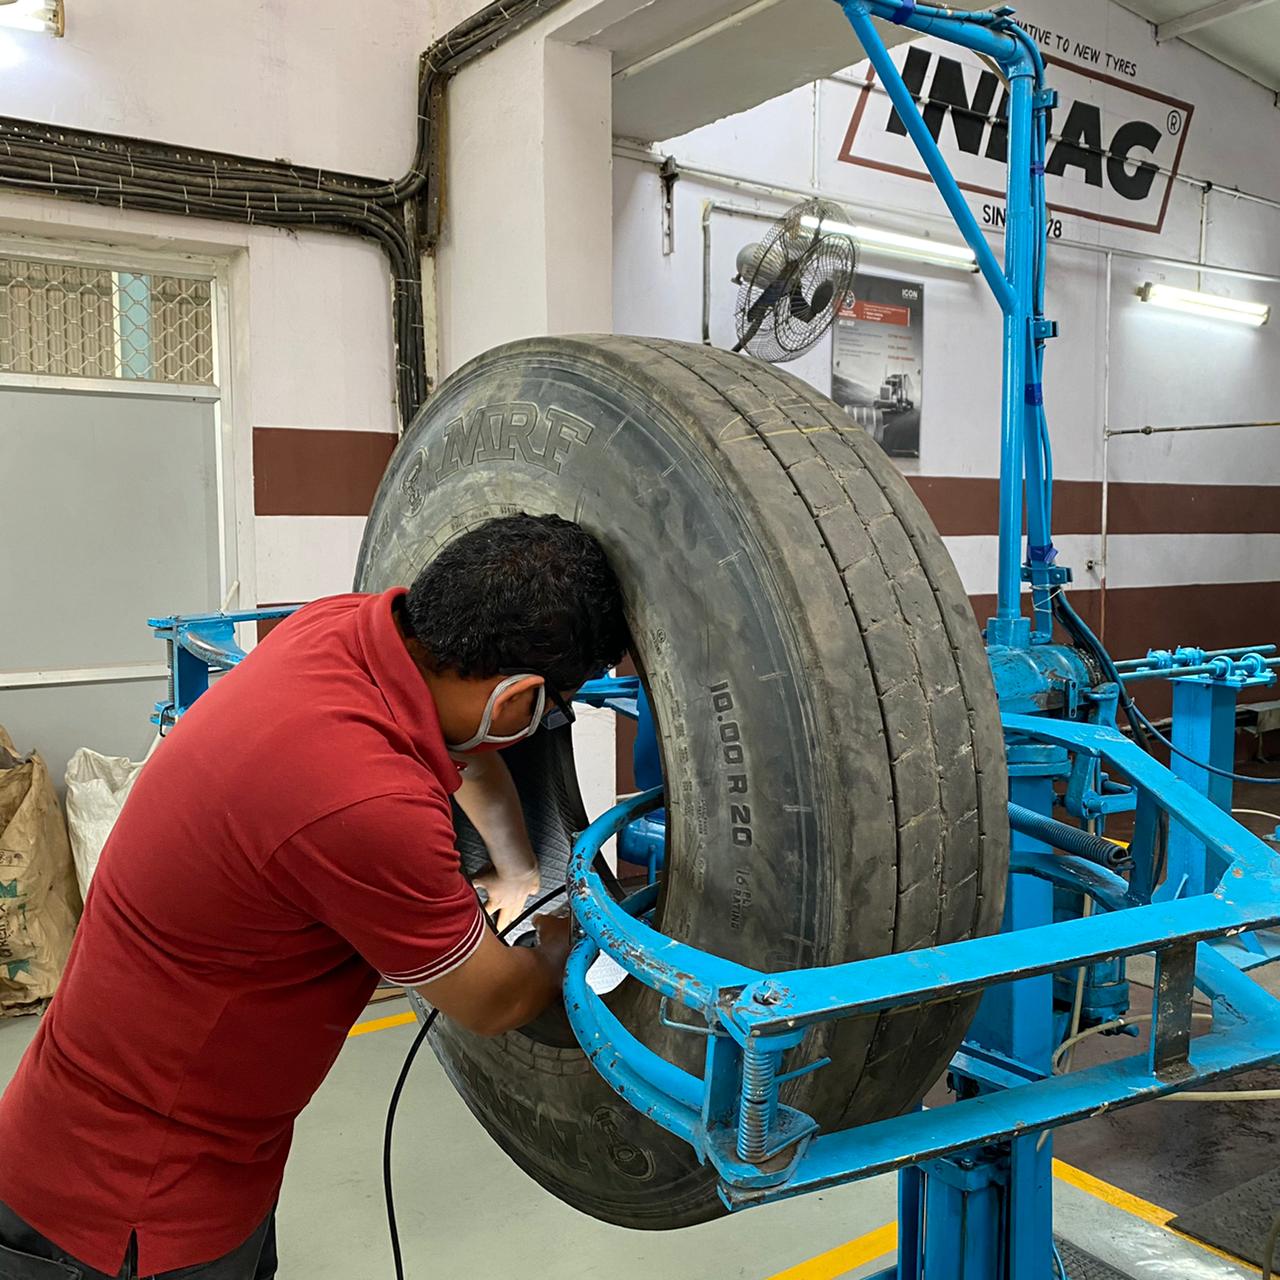
Suitable casings are selected out of the old and worn-out tyres for the process of retreading. Every casing undergoes rigorous and thorough visual inspection in the plant to find and mark punctures, ruptured cords, separations, or any other minor faults in the tyres. All the casings that fail the inspection test are rejected.
Please make sure that the casings meet the below criteria before inspecting them-
-
Tyre casing should be clean.
-
Tyre grooves/channels must be cleansed well.
-
Casing should not be wet while inspecting.
-
Inspection to be done in adequate light arrangement
-
Inspections to be done with proper tools – Hammer/Poker/Crayon/cloth.
Once the above-mentioned pre-conditions are met, we can proceed with the following inspection procedure-
-
Check for Separation with tapping hammer at Shoulder area (both sides) and at the crown hear the change of sound. Hammering at the separation point gives different thumping sounds. Mark that point crayon and reject the tyre.
-
Use your palm and run it over the bead area, inside and outside to feel a bulge of ply separation. Mark it with a crayon and reject the tyre if the bulge is there.
-
Examine the extent of cut at the crown are with the help of Poker; if the cut is too large or too deep and cannot be repaired, then reject hat casing.
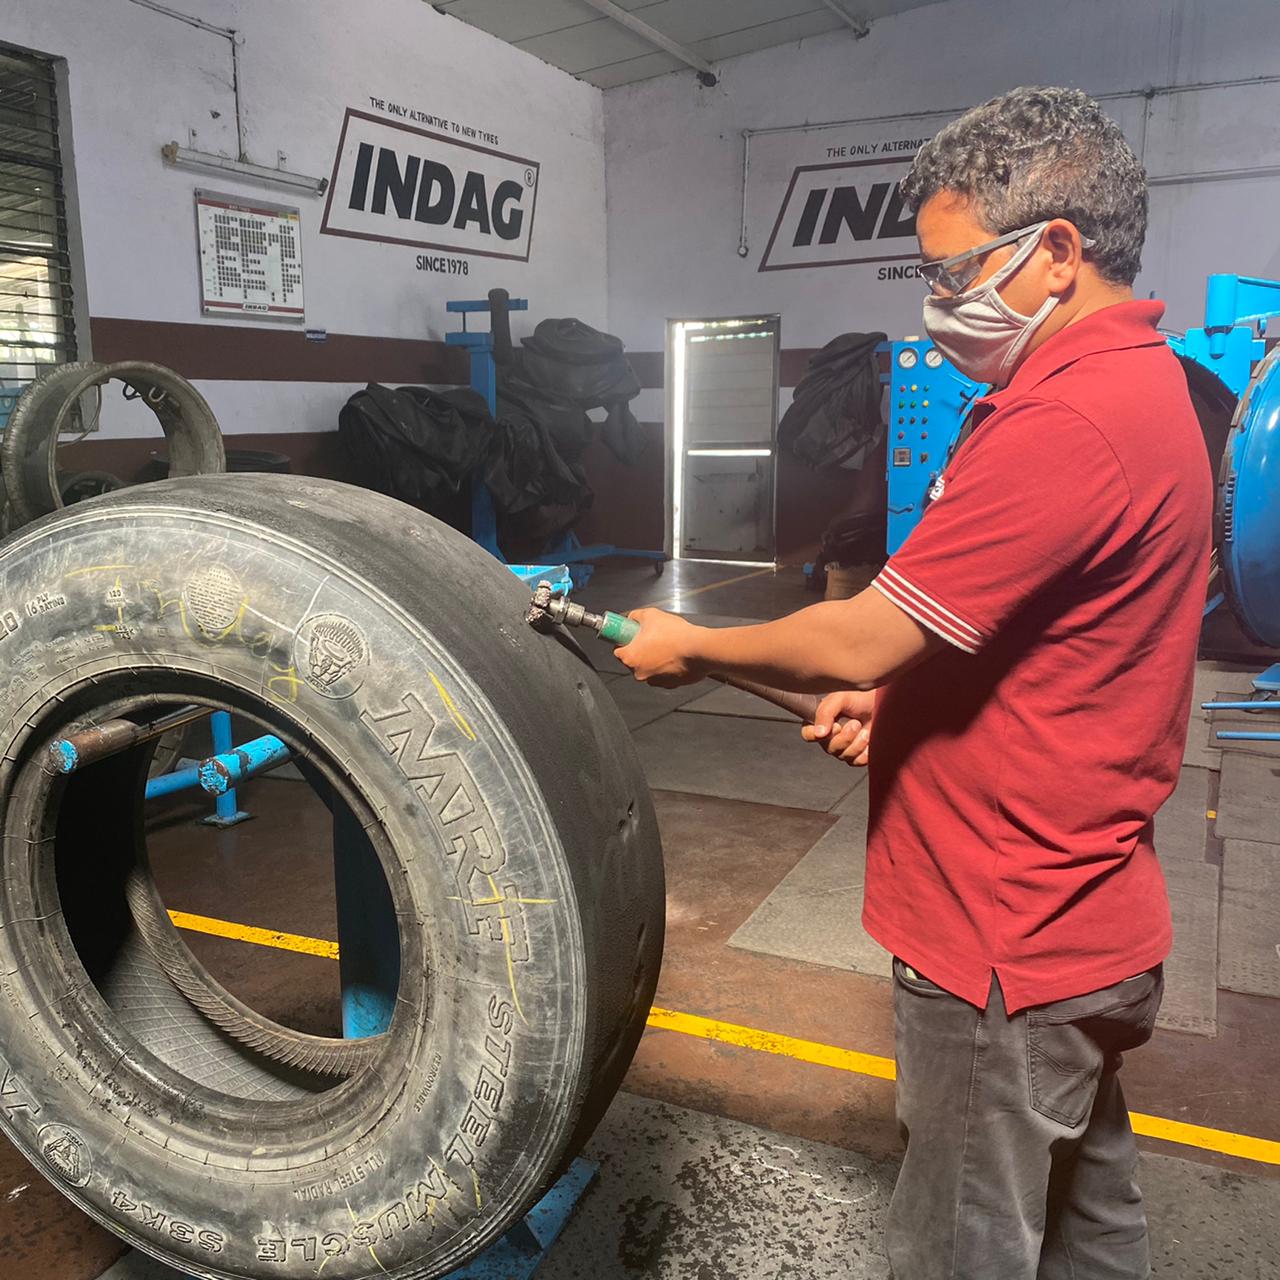
2. Venting
The venting is a process done for bleeding out any air entrapped in the casing at the time of curing. It requires the worker to prick the bead and shoulder area of the casings to be retreaded with an air tool. However, the venting is recommended for Bias tyres only & not radial tyres. If the venting is not done in the casing before buffing, the possible entrapped air will not bleed out from the casing leading to separation between the tread and the casing while in service.
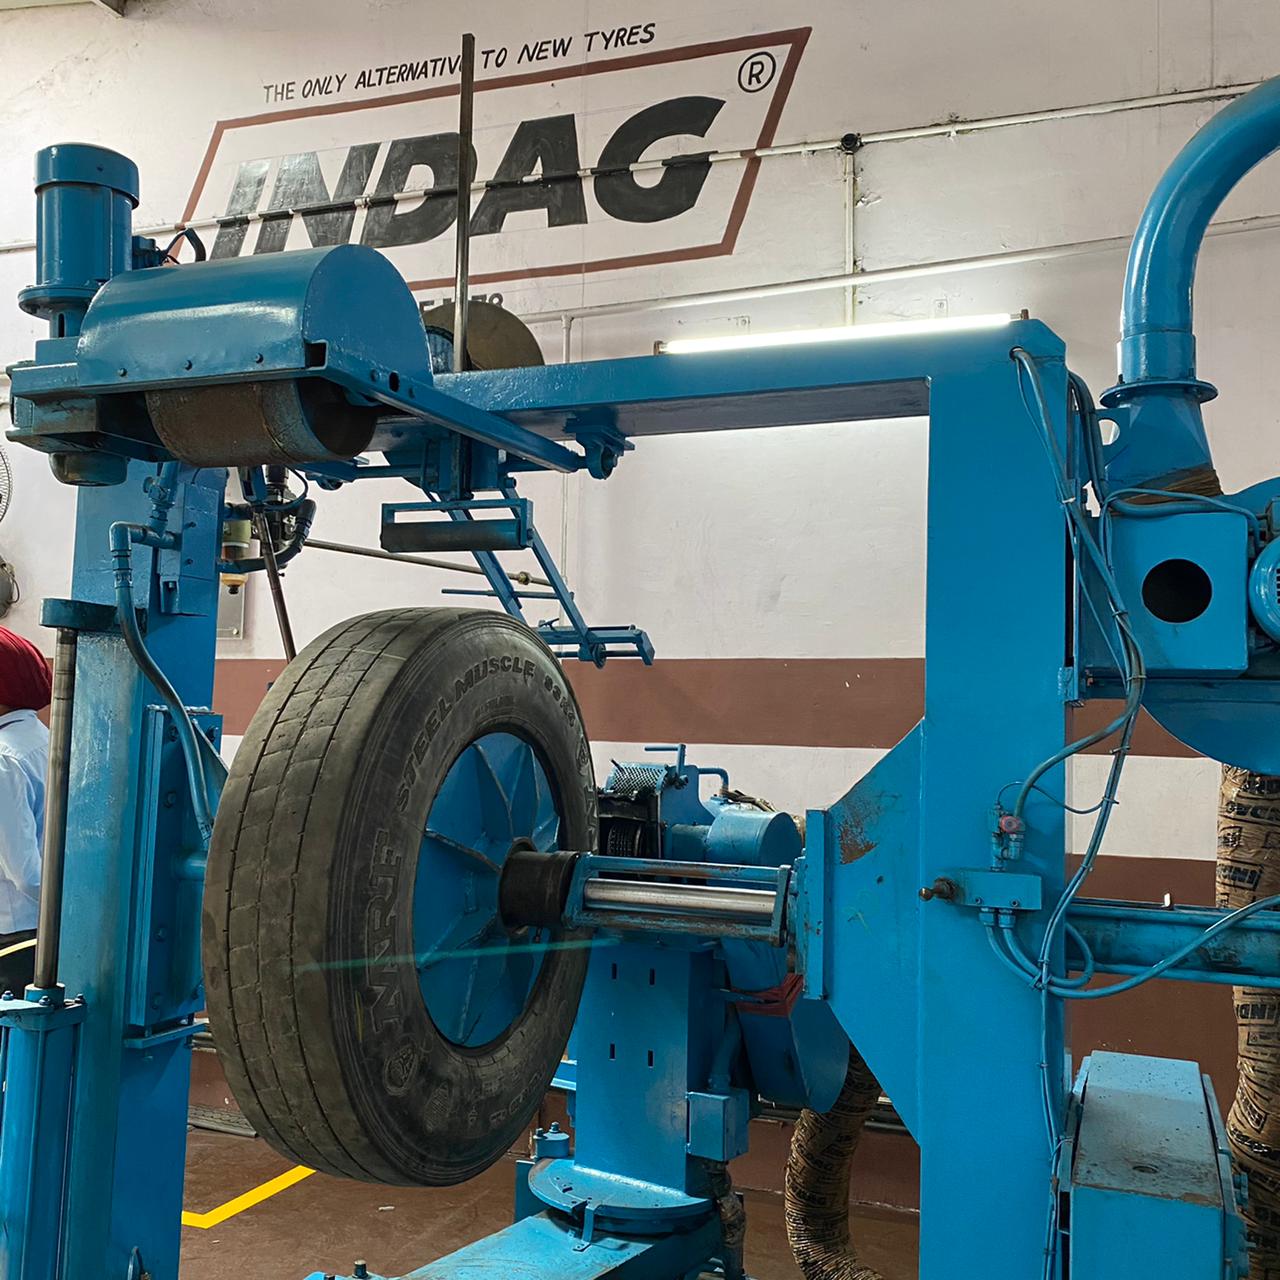
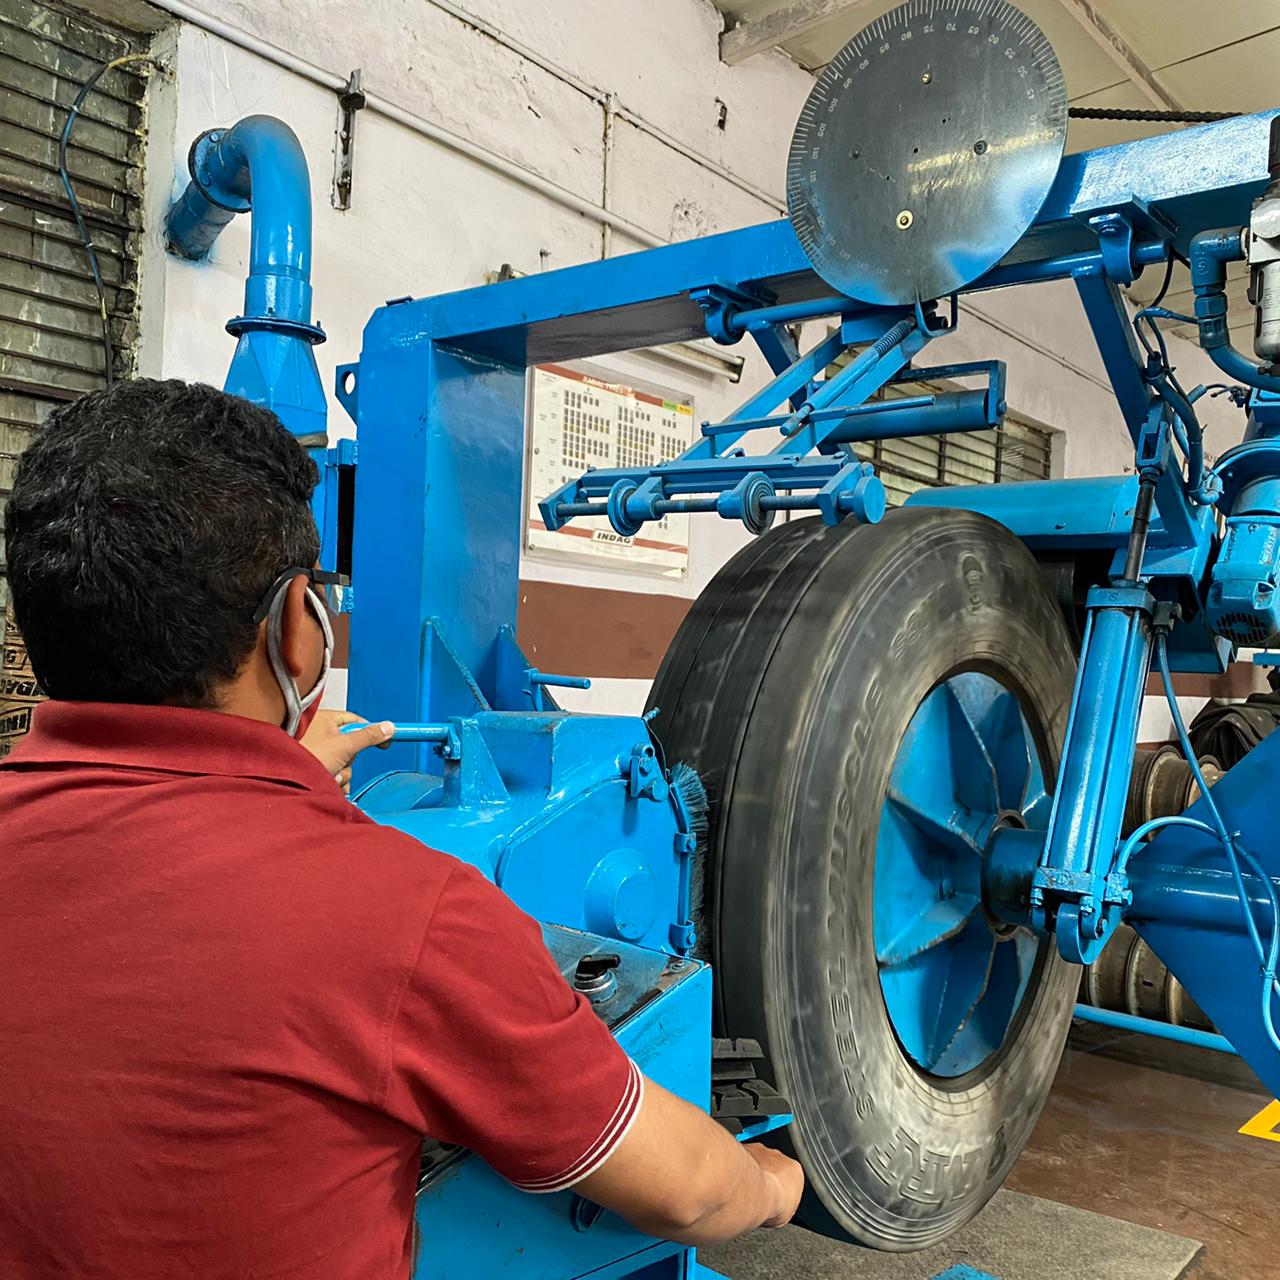
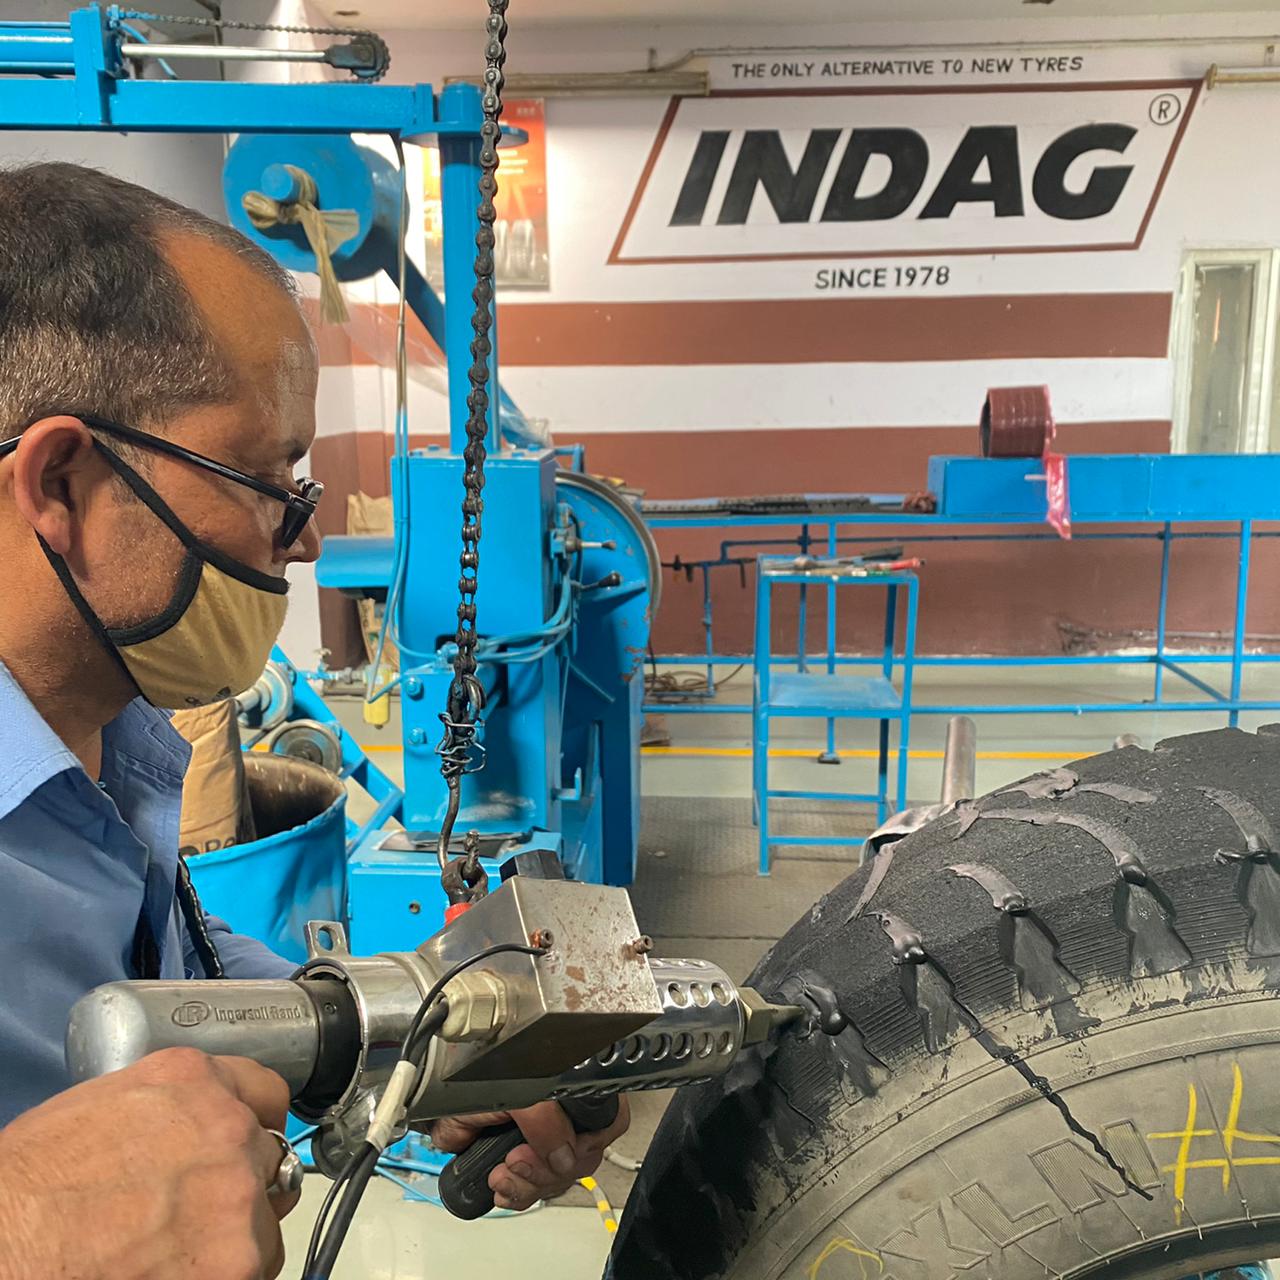
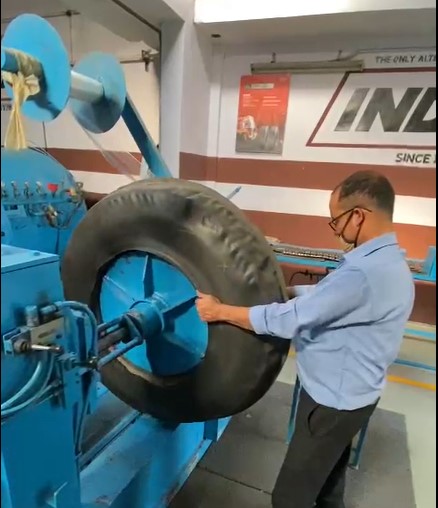
3. Buffing
The third step in tyre retreading is buffing; it is the process of cutting out the worn-out tread portion of the casing's crown into a uniform surface. The uniform surface allows more flexibility and correct placement of the new tread on the top of the casing to provide exact bonding while curing. The selected casing needs to be buffed precisely and inflated at the specified rim size and tyre pressure as recommended in original use to ensure the proper radius and profile of the buffed area.
The improper buffing will leave a non-uniform radius and surface area for the tread to be placed on the casing resulting in an unsuccessful bonding between the new tread and the old casing. Often it is seen that the lack of proper machinery and craftmanship leads to improper buffing. So, we recommend all the retreaders always to use the correct method and the right set of machinery while buffing a casing.
4. Skiving
Truck bus tyres usually get abused on roads resulting in multiple injuries on the crown of casings. It is of utmost importance to take care of any such injuries or damages to the casing while retreading a tyre. The negative impact from these injuries is neutralized by removing the loose or damaged part from the buffed crown area of the casing. This step of the retreading process is called skiving.
5. Cementing
After the casing is buffed and skiving is done, the buffed area is quickly coated with a rubber solvent called Universal Spray Cement(USC). This process is called cementing the casing; it avoids the oxidation of the crown (oxidation reduces the surface tack of the buffed area, which results in an incomplete bonding between the tread and the casing, later leading to a retreading failure). The cementing needs to be done within 2 hours of buffing and skiving.

6. Repairing & Filling
The casings that come for retreading are most often abused during their first cycle; there are cuts or damages on the crown section or the shoulder of a tyre. It is imperative first to repair these cuts and damages, or else the retreaded tyre will result in a complete failure. Not all injuries are recommended to be repaired; sometimes, cuts can be so deep that no repairing technique will reinforce strength in the casing.
Maximum size of cuts that can be repaired -
1. At the casing's crown: Maximum – 25 % of section width
2. At the casing's shoulder: Maximum – 12.5% of section width
Based on the size of the damage or cut there are three different types of repairing process-
1. Spot Repair - In this process, the areas with 25% of the total numbers of ply damaged are repaired by filling the URSG in the skived area.
2. Reinforced Repair- When the plies damaged are up to 75% of the total numbers of plies, a reinforced specified patch is applied in that area.
3. Sectional Repair - If the plies damaged are beyond 75% or the cut has pierced through the casing, then a Section specified patch is applied in that area.
The size and shape of the patches should be selected based on the size of the damage and the type of the tyre. It is also important to note that the repairing tools are different for both bias and radial tyres.
The process of filling up the skived areas of the crown with a pre-warmed vulcanizing rubber stem is known as filling.
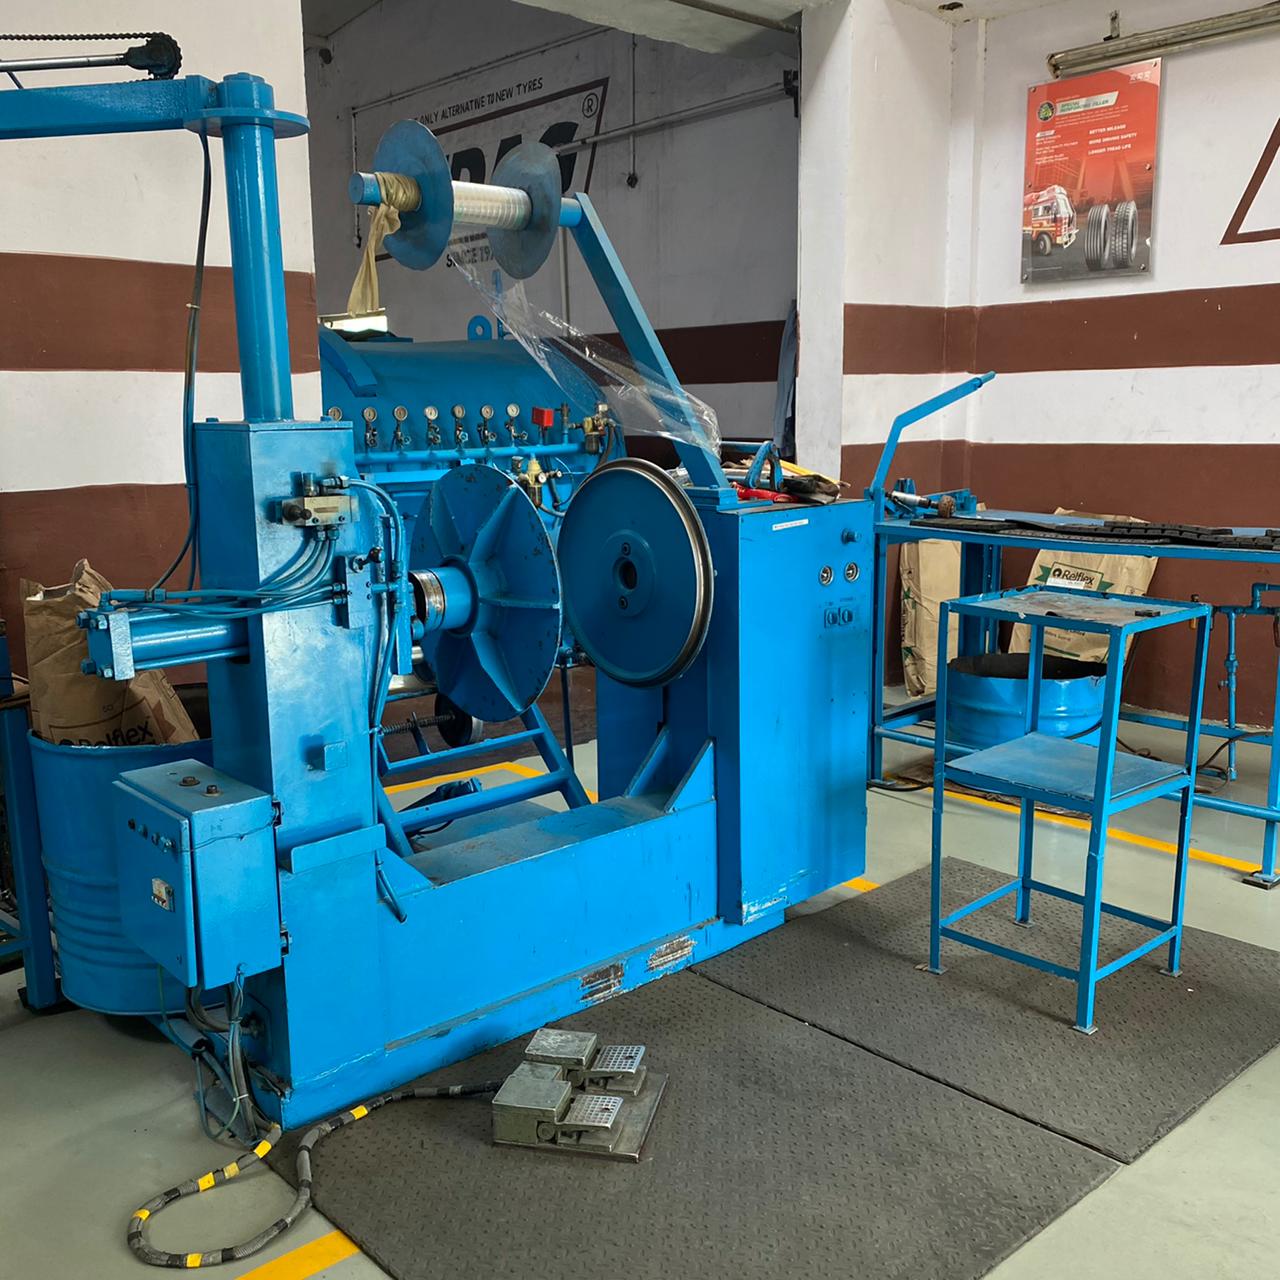
7.Tread Preparation
In this step, the pre-cured tread rubber (PTR) belt is cut exactly to the length determined in the buffing machine. URSG/bonding gum is then applied on the under-tread area of the PTR and stitched with a roller, and it is ensured that there is no air entrapment between the URSG and the tread.
The tread edges are cut straight, and perpendicular and a strip of URSG is applied at the edges. The tread is then rolled and sent to the building machine.

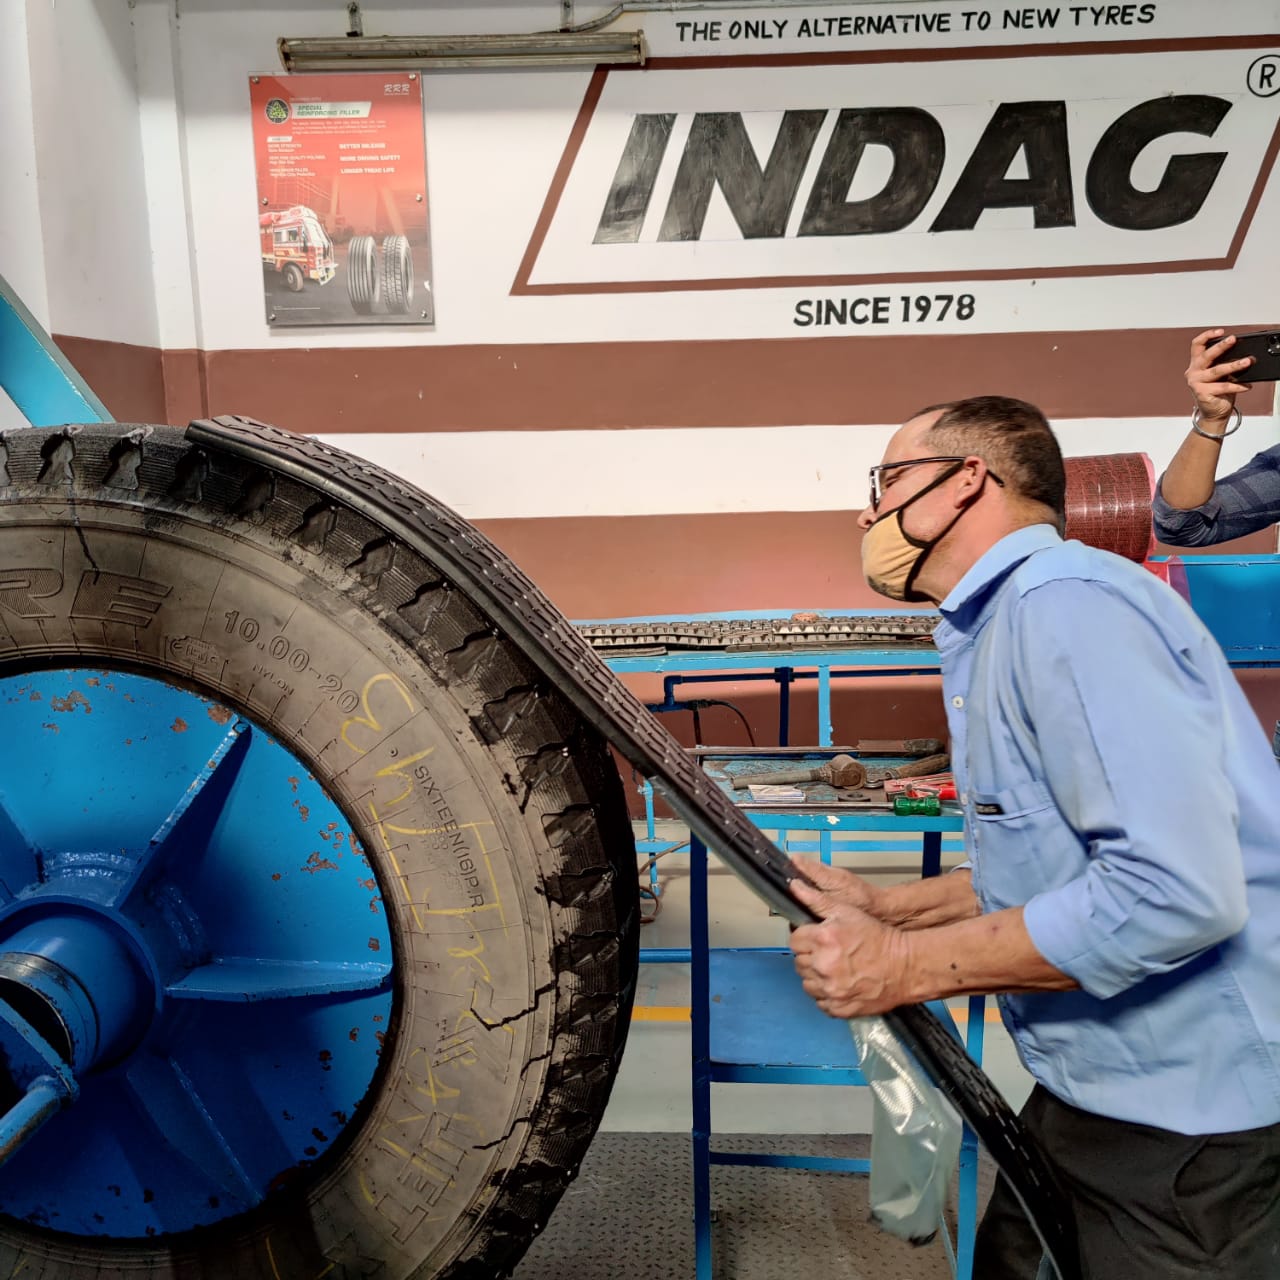
8. Building
As the name suggests in this step, we finally build a tyre out of the buffed and repaired casing. The casing is mounted on a tyre builder and inflated with an exact size rim as in original usage. Then, the tread duly coated with bonding gum, prepared in the last step, is applied on the crown surface of the casing. The tread is placed on the crown at one end, and then the whole tread is stretched along with the crown while rotating the casing slowly so that the tread completely sticks to the crown surface with no air entrapments. This process needs high precision and impeccable craftsmanship. Any error in applying the tread can leave air pockets between the tread and the casing, resulting in a retread failure.
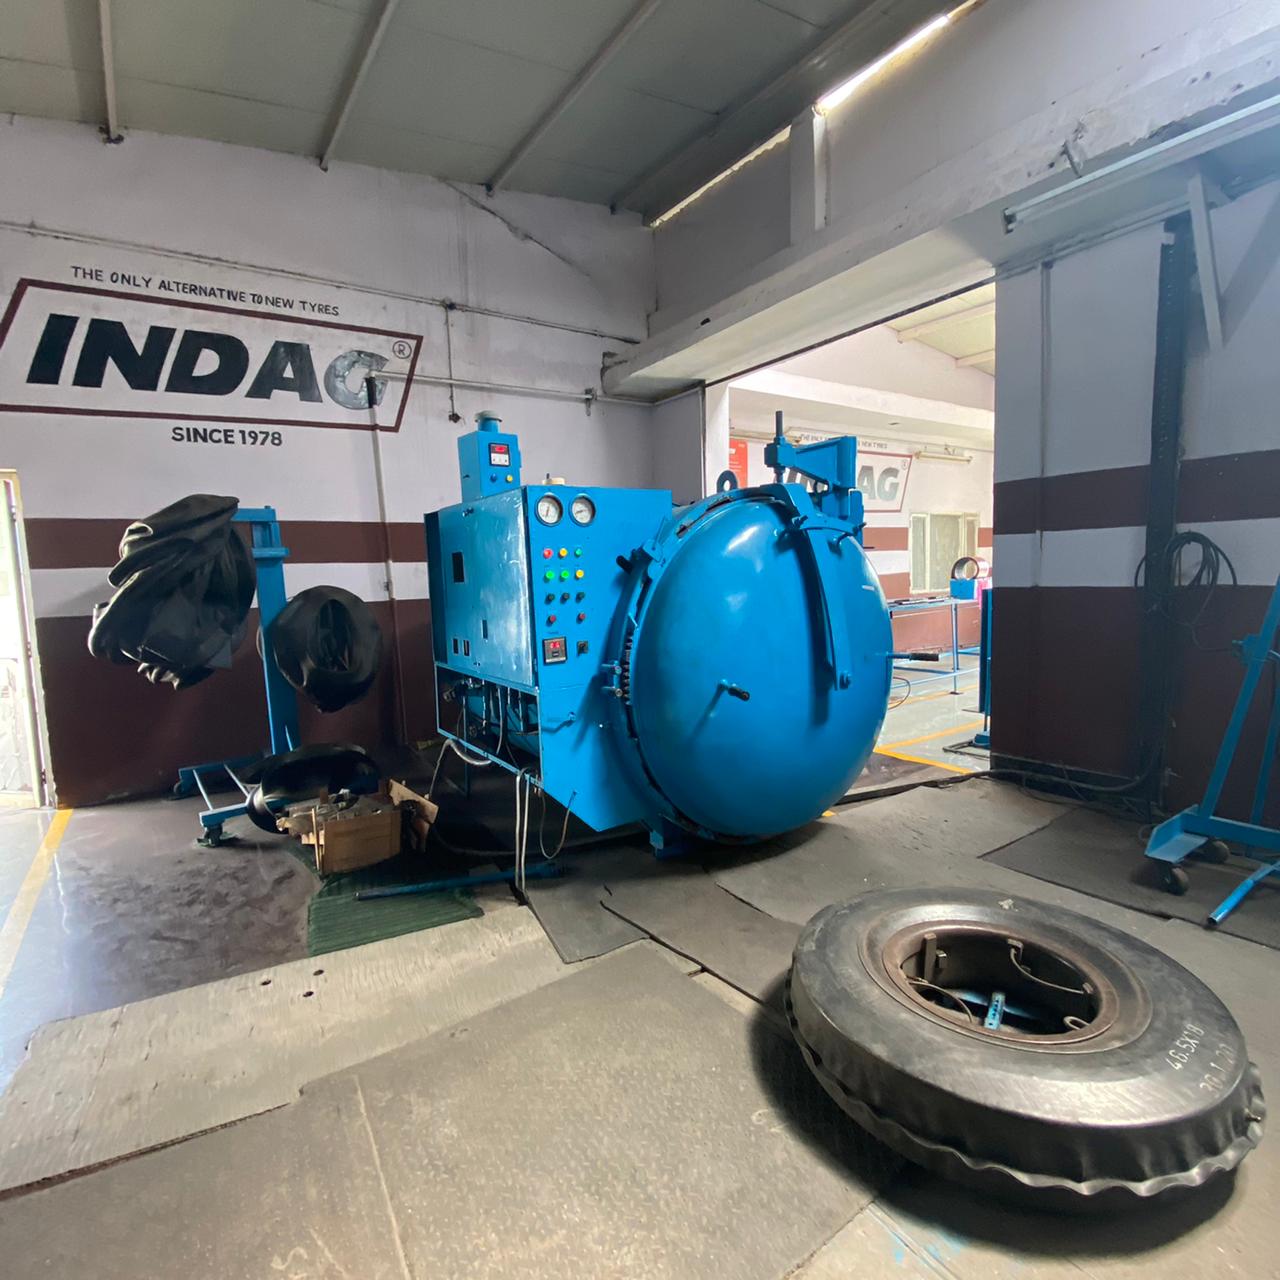
9. Curing
The second last final step of Indag's 10 step retreading process is called Curing. The output of this process is the final retreaded tyre. First of all, the tyre built in the last step is wrapped with a flexible rubber envelope. This ensures a uniform pressure at all points of the tread, including the tread voids, to achieve perfect bonding of the tread with the casing. It also avoids any distortion of the casing while curing.
We also place a thin film of perforated poly between the envelop and the tyre to facilitate bleeding out of any entrapped air between the tyre and the envelop while curing. A pair of WICK pads are also placed between the envelope and the poly with an envelop valve placed over it. It acts as an exit for the air entrapped between the envelope and the casing.
The enveloped tyres are then placed in an electrically heated pressurized chamber for curing. Please note that Indag strongly recommends chamber and not bonder for the best curing results. In the process of curing, we must understand that only the URSG/bonding gum gets cured; it makes strong chemical bonding with tread rubber and the casing, making them inseparable.
The chamber works on an automatic cycle and maintains a constant temperature and pressure. A differential pressure of 25 PSI between the chamber pressure (85 PSI) and the tube pressure (110 PSI) must be maintained for proper curing. We must also ensure that all the three basic parameters – Time, Temperature, and Pressure are maintained throughout the curing process.
10. Final Inspection
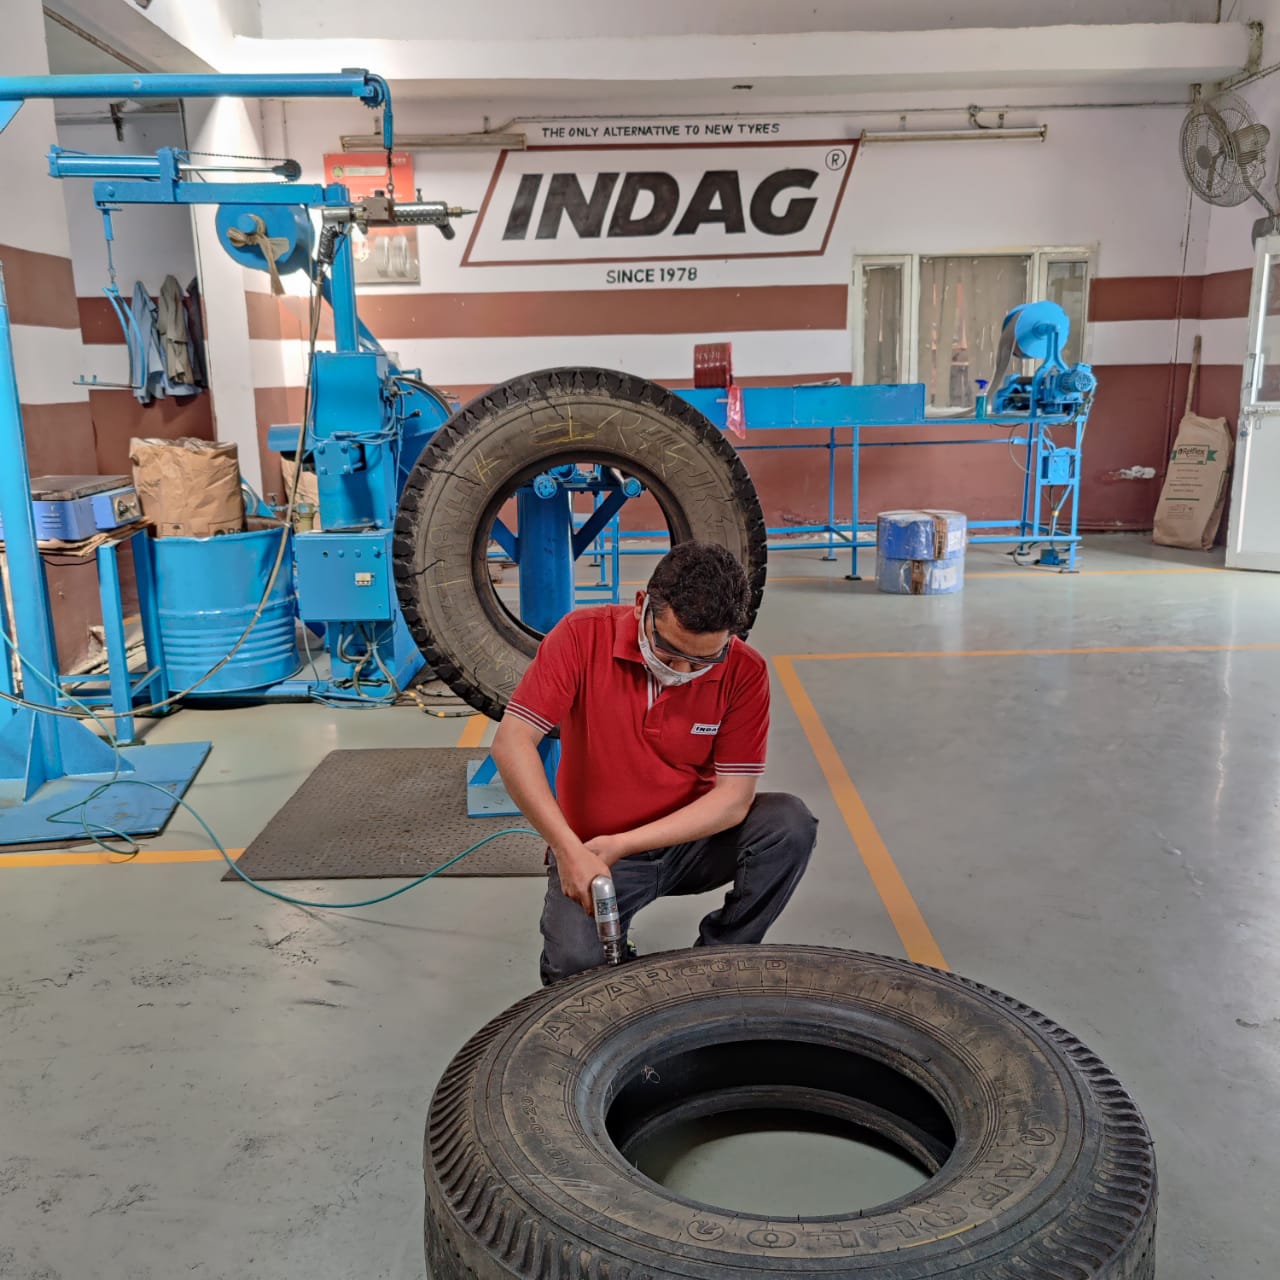
Every tyre is put through a critical final inspection procedure to ensure that the finished retreaded tyre conforms to Indag's high standards and will deliver full value and service to the user. It is always better to polish the retreaded tyre to give it a shine and look as good as that of a new tyre.
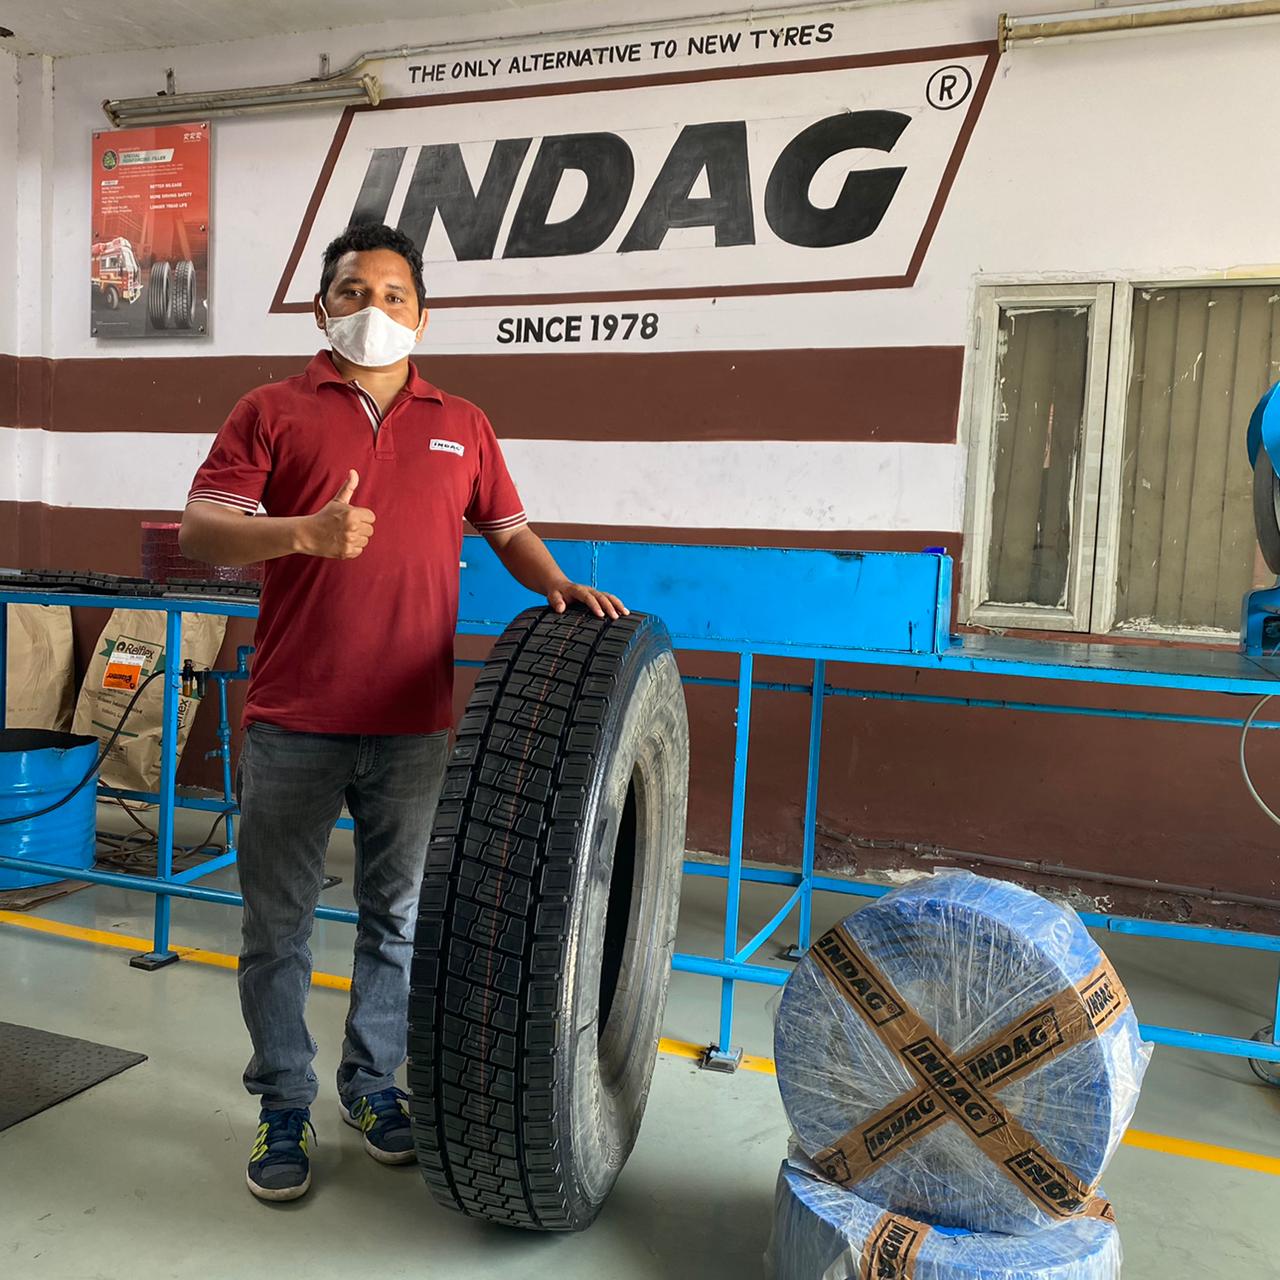
These 10 steps of Indag's retreading process are an output of extensive technical research and development backed by a legacy of 40+ years of delighting millions of fleet owners in India and across the globe. We are confident that if you follow these 10 steps rigorously, you will succeed in building the highest quality retreading tyres in the country.